
Lighten & Brighten Series #9 – Pixels Mosaics
This series is dedicated to the mama who may have discovered that she has either planned too much/too little or has not included enough variety/engaging activities in her homeschool lesson plans. Follow along as I show you ways that you can lighten your load without compromising learning while adding in some truly awesome extras!
Now, I hear you. If your load is heavy, why am I suggesting that you ADD something?! Well, I am actually going to offer suggestions for both replacing time-consuming (or otherwise challenging) things and including resources if you are currently left lacking at the end of your homeschool days. Hopefully, you’ll find something helpful in this series that will bless you and your family.
After this post, I will be taking a break from my Lighten & Brighten series to feel a little more balanced in the content of this blog. I really want to share some other things with you and I feel you know have many good ideas and product reviews before you to help bring joy and hands-on learning into your homeschool days. I will pick back up with this series in late spring/early summer 2020.
Before I take a break, let me share one more thing with you – Pixel Mosaics! I have to admit, this project was more involved than I realized, but super clever and fun for my little guy. There are several very important tips I need to share with you so that you can avoid some of the hiccups we encountered. I’m going to write this review a little differently than my past ones. I’m going to give you Heads Up, Pros and Cons lists, followed by my final thoughts.
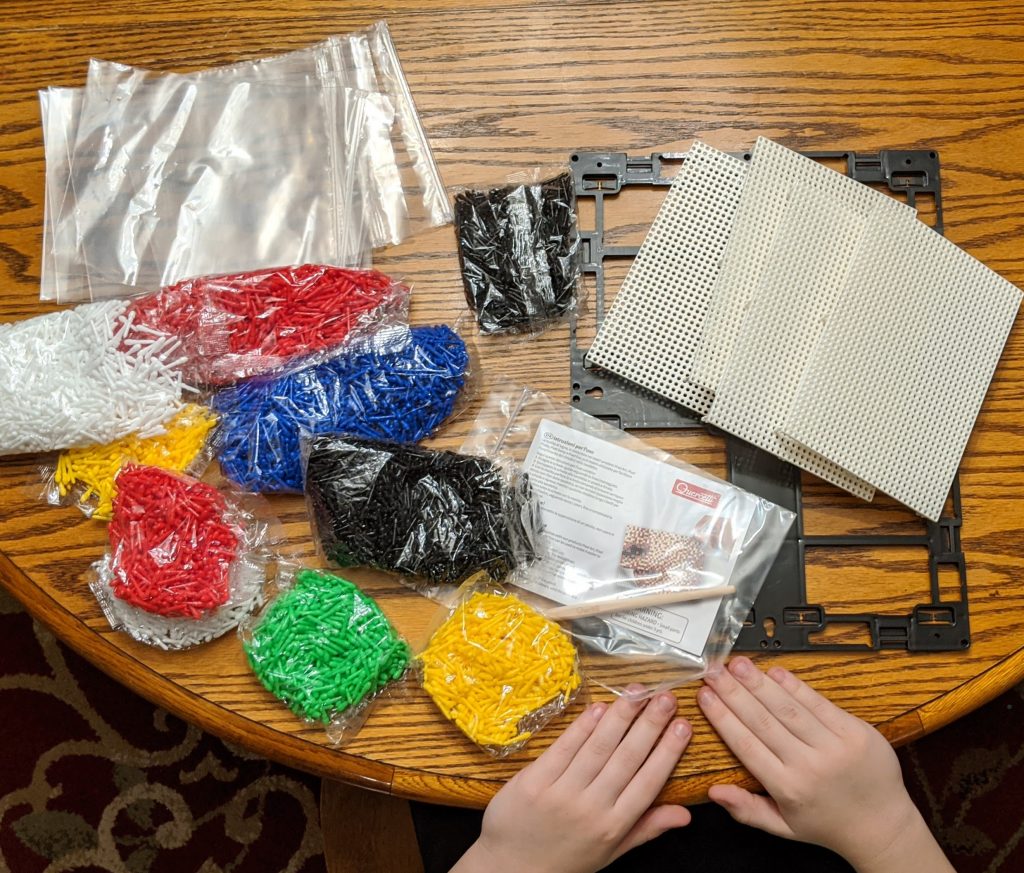
HEADS UP
1. There are very few directions for use and they are scattered. The insert that comes with the product lists several simple steps, giving the illusion that this is pretty straightforward. However, the steps listed on that paper assume you’ve already completed the steps on the back of the box. You know, the ones in Italian, lol. (Rest easy, there are English translations in super small print.) So heads up – start on the back of the box first.
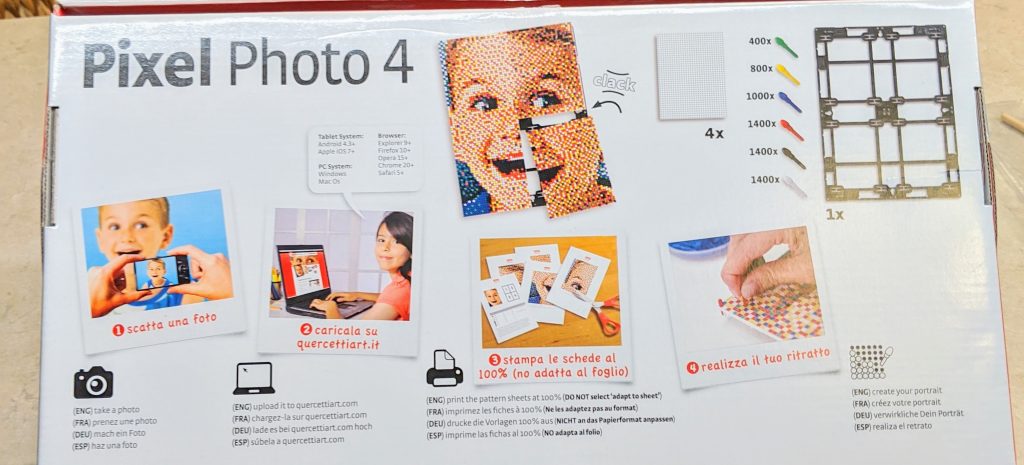
2. Using the right print settings for the templates is key! We encountered difficulty using a Chromebook, even when setting our printer to the indicated setting. The template still did not print out to the exact size of the white plate and the pegs were misaligned. I called in the IT Department (my hubby) and he printed the templates using Adobe (unavailable on Chromebook) on his Mac. There are some compatibility guidelines on the back of the Pixels box and it does list the Chrome browse. We aren’t quite sure why it didn’t work with the Chromebook, but it didn’t.
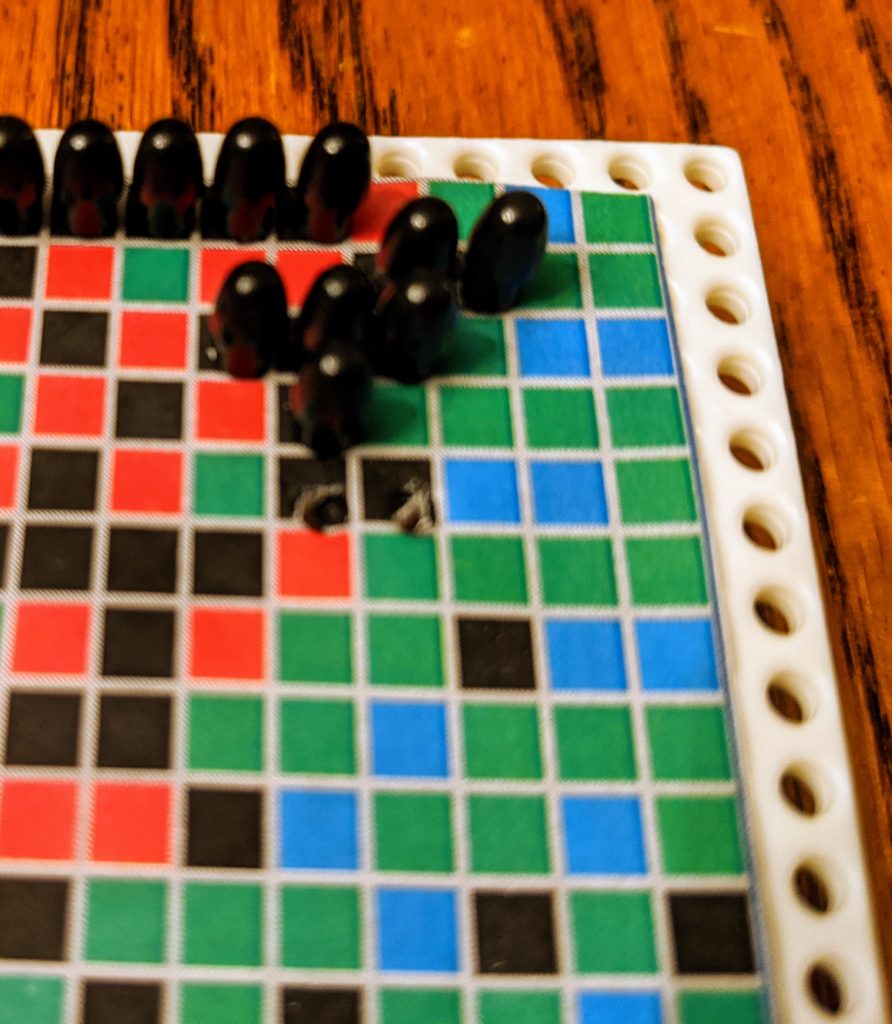
3. The pegs are tiny and travel fast and far. Moms of toddlers, beware before you start using this kit.
4. When editing your picture to print, be sure to use a tight frame. In other words, zoom in real close on what you want or else you will not have enough pegs in the kit to complete the project.
5. This is a multi-week project for a third-grader….and probably other graders, too. 😉
6. Timberdoodle does provide extra instruction for this set in their 6th Grade Handbook. If you plan to use this as part of that grade kit, you are all set. After I encountered some snags, I thought to reach out to Timberdoodle, figuring they had addressed the difficulties I faced. I was able to preview the instructions given in their handbook and had I read those prior to starting this kit, I think several of our hiccups would have been eliminated. I also later discovered that there are some helpful tips on this product’s page of Timberdoodle’s website.
PROS
1. Your child can use ANY photo to create a Pixel Mosaic. Take your own picture or download one. The sky is the limit! Just be aware that the more colors you have, the more pegs you will need. You may need to purchase extra pegs for super colorful pictures or ones with alot of one color.
2. Working on this project has been a great focus-builder! I feel like I literally watched his attention to detail improve. He set goals for daily progress and came up with the best way to “tackle” them. While the lack of instructions frustrated me at first, it ended up providing problem-solving opportunities for my little dude. Happily, he rose to the challenge.
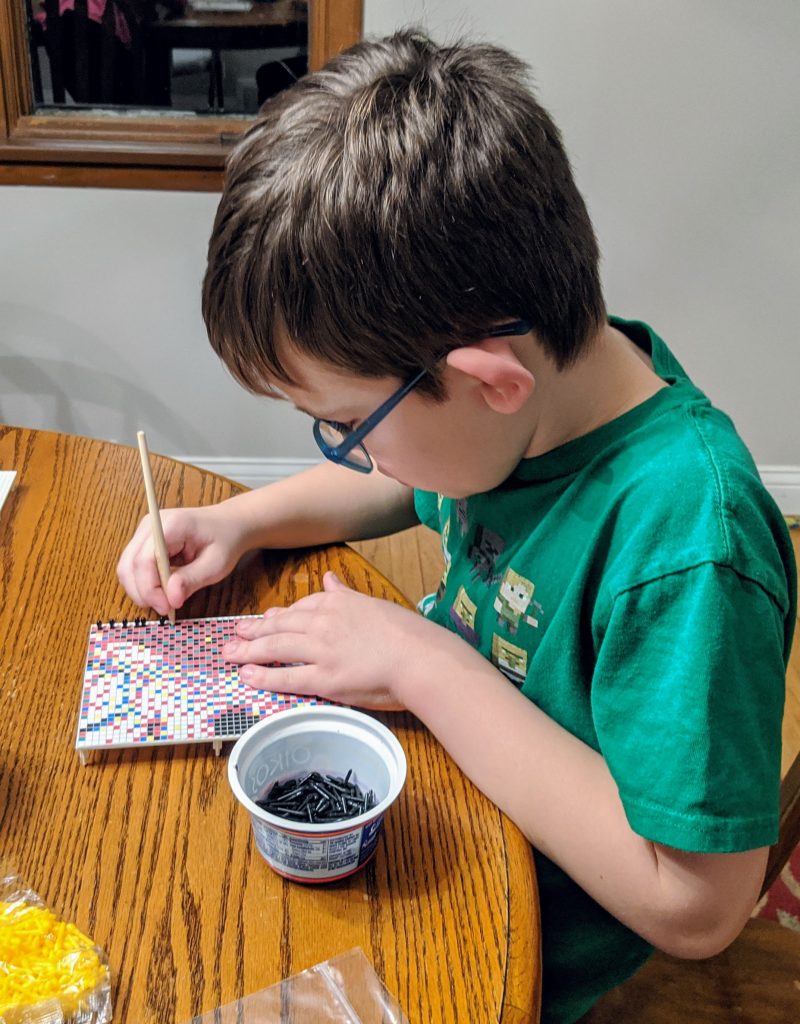
3. This kit provided some fun “rabbit trails” of learning as we defined pixels. If you have a kiddo who is all about how things work, this is a great way to magnify what’s happening on a micro level behind every screen we use. True, the peg colors are more varied than in a true pixelated image, but the concept is there.
4. This is another great option for art-reluctant kiddos. Take a quick look at pointillism, dive into the Pixel kit and art is covered for the month.
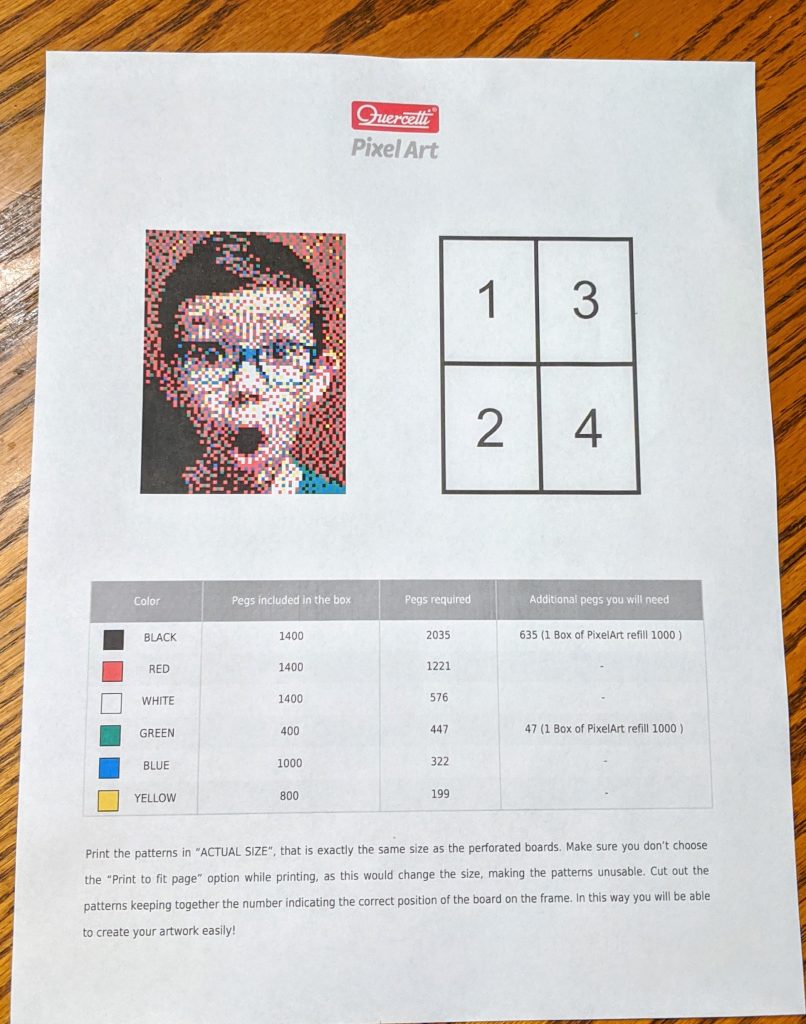
5. The project templates have a “cover page” that tells you whether you will have enough pegs to complete the picture you selected. Below is the sample of the cover page. In the chart under the image, it lists the number of each colored pegs you will need. If the number needed exceeds the number provided in the kit, there is a note in the right column of the chart. As you can see, we will need to order more green and black pegs to complete our project. You can order refill bags by peg color.
CONS
1. While the kit is reusable to create as many mosaics as you’d like, for the $26.75 price, I would have expected to have at least one or two templates included as a starter project.
2. We did not have enough pegs to complete our project. Due to the very limited instructions, we did not know there were pre-selected photo options for use that only require an amount of pegs contained in the kit. We would have used one of those if we would have known that.
3. Admittedly, I used this project with a kiddo younger than the Timberdoodle schedule, but this required quite a bit of parent interaction. The age listing on the website says 6+. I do not personally think my son would have done any part of this at 6 years old. Up until this project, he has really enjoyed doing his Timberdoodle kits independently. He and I both were a bit disappointed that this was more of a “mommy project” than a “kiddo project” at the start. We eventually got to the point where we both understood and he ran with it. It just took longer than our past experience with Timberdoodle goodies.
4. The peg bags are very thin and broke open in the box. We opened our kit to loose pegs all over the bottom of the box. Not a huge deal, but I am certainly glad I was there to open the box with my kids. There are super sturdy ziploc bags that come in the kit for peg storage. Once in those bags, there was no issue with spillage.
FINAL THOUGHTS
To wrap up this review, I have a few final thoughts to add to the previous lists. First, as I mentioned, you need to go online to download/upload a picture and print a template. Perhaps it goes without saying, but I’ll say it to be thorough – you need a color printer. There were several years that, for financial reasons, we did not have color ink. Perhaps some of you are in that situation now. There is an option to complete the project in black and white, but I don’t think you would have enough black pegs in the kit to do that.
Secondly, once we worked out the quirks, my son really did enjoy making his Pixel Mosaic. The concept is so clever and he enjoyed working with a different medium (pegs).
The final thing I’m sharing I don’t really consider a pro or con, so I just put it here at the end for you to decide. As I mentioned earlier, you can create as many mosaics as you’d like with this kit. That means you will dump out all the pegs from your project, sort them into colors and start over….with 6,800 pegs. We’ll just go ahead and save this for 6th grade as Timberdoodle suggests 😉 . It’s a quality set, fun to use but certainly more involved than our previous purchases.


